Skip to content
Cleaning and Care Tips
We recommend wiping down any new ECR4Kids® product before introducing it to your classroom or home. Regular cleaning helps maintain a clean environment while ensuring your product stays safe, durable, and ready for daily use.
Birch and Hardwood Furniture
Our rubberwood and birch furniture features a finish that seals the wood surface and resists scratching. A UV inhibitor helps resist ultraviolet light and prevent yellowing. Easily clean by wiping down with a soft cloth and mild soap-and-water solution. Dry with a clean towel.
Check for loose or worn parts periodically and tighten or replace as necessary.
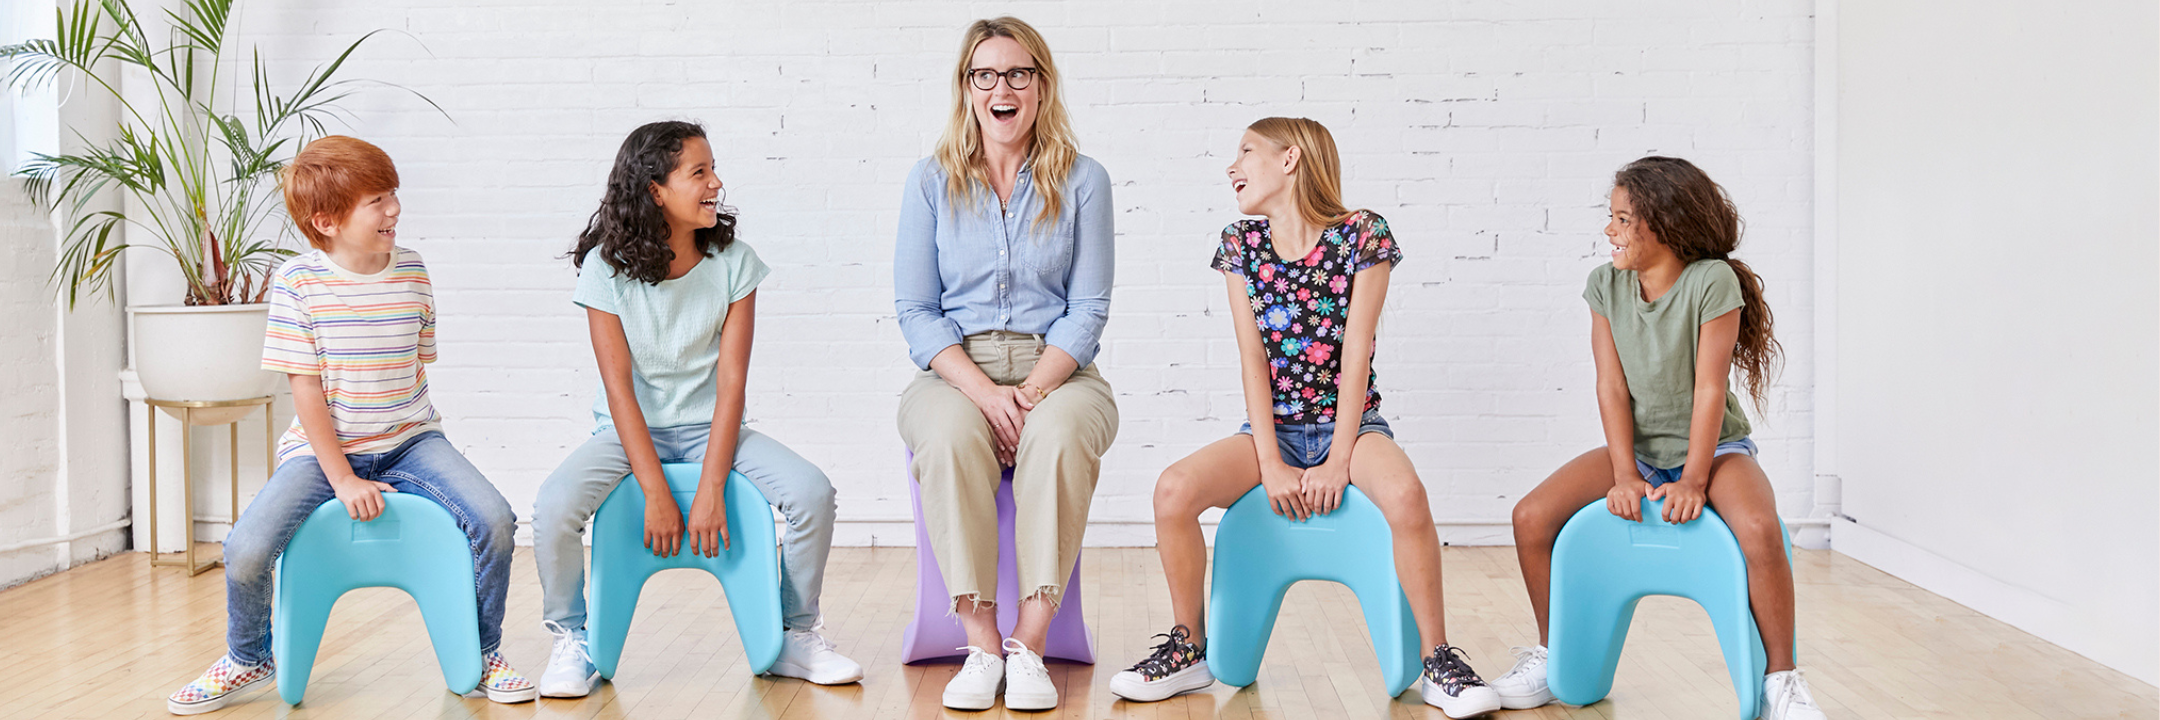
SoftZone®
The foam core is covered with water-resistant polyurethane vegan leather featuring durable woven backing. Easily clean by wiping down with a soft cloth and mild soap-and-water solution. Dry with a clean towel.
To eliminate any fold marks or creases that may occur during shipping, remove your item from its packaging and let it breathe. If needed, lay it in the sun for several hours.
Check regularly for worn pieces or loose seams. Do not remove the cover as it may be difficult to replace. Spot clean spills and messes - do not machine wash.
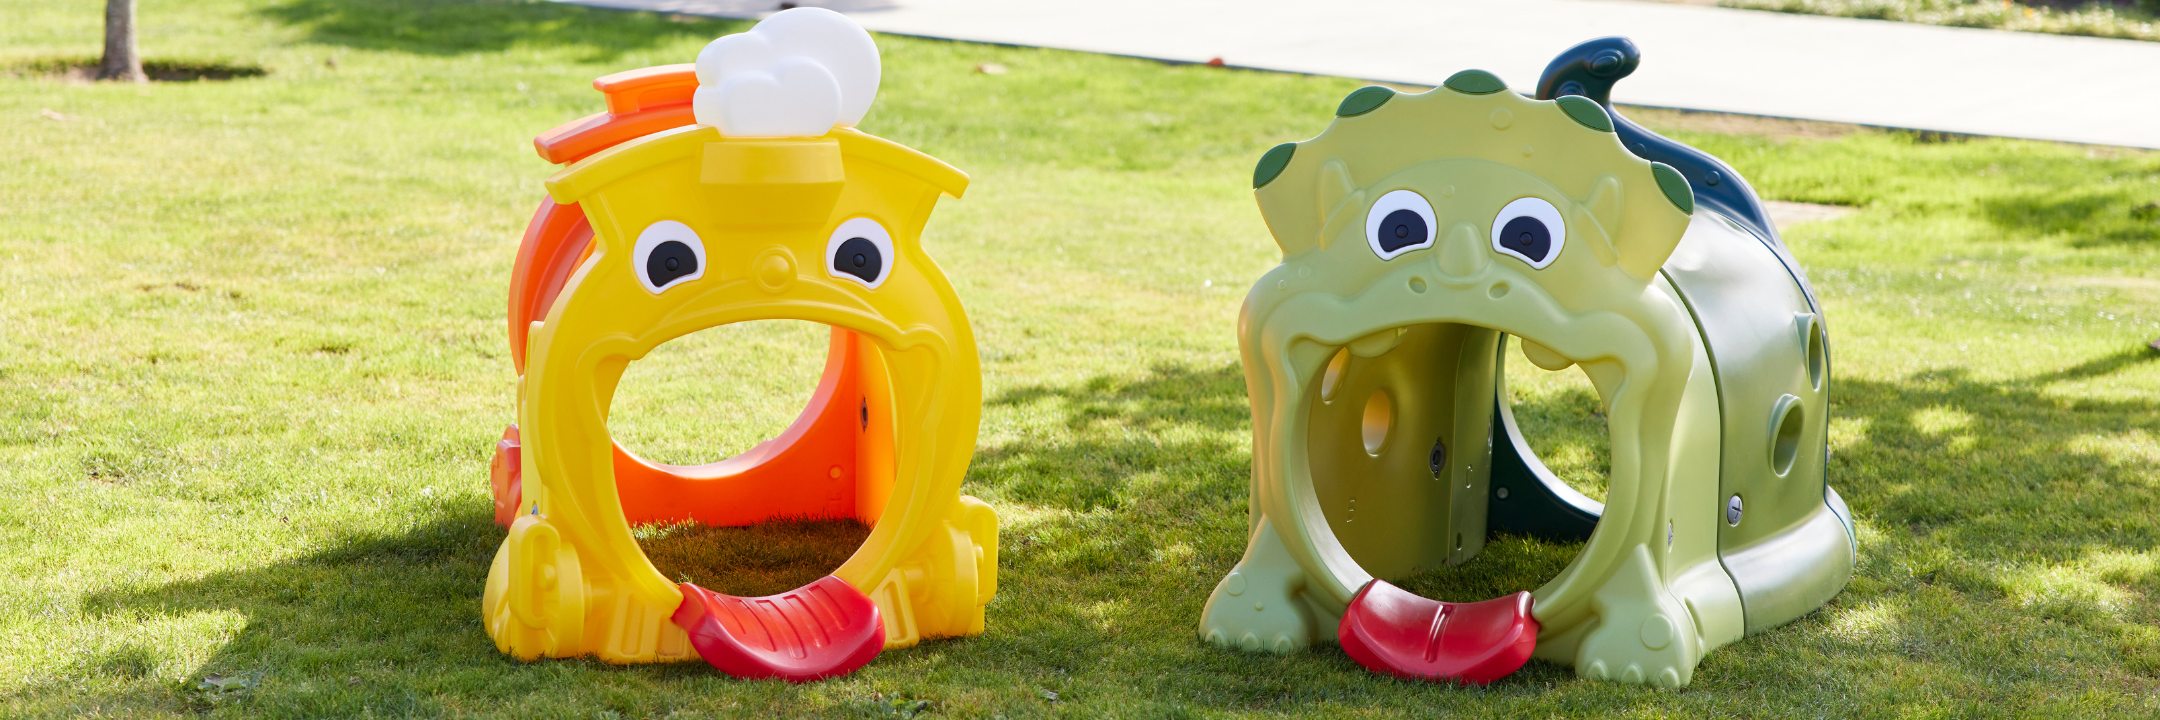
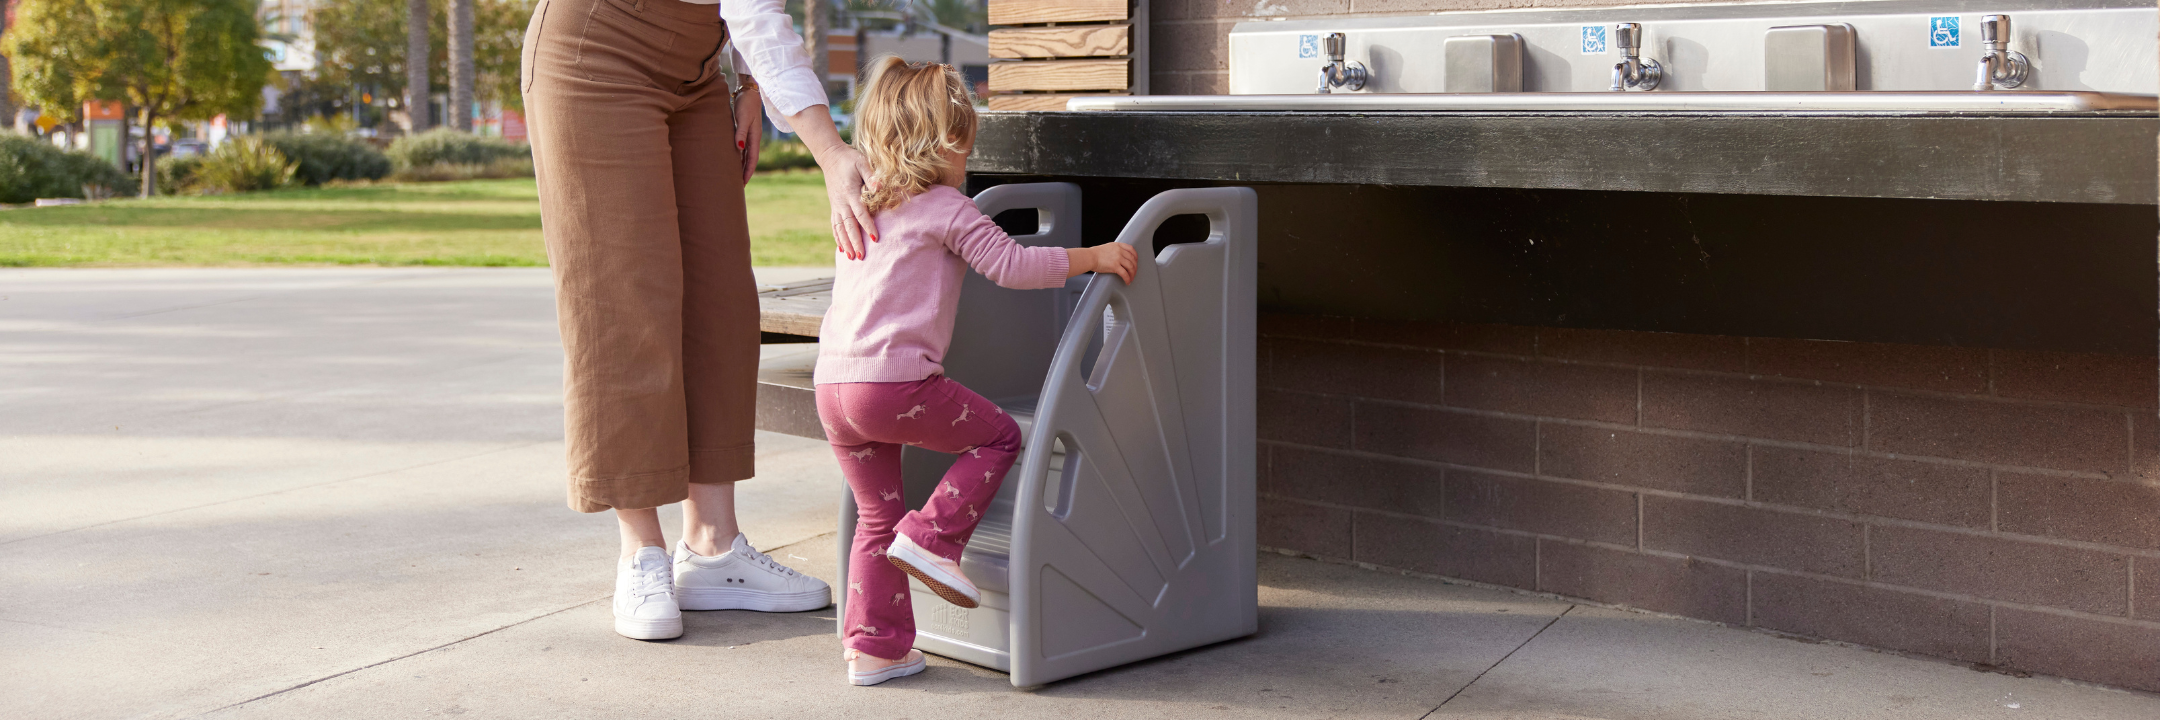
Plastic Products
Crafted from durable UV-protected plastic that won't chip, crack or peel under typical conditions. Easily clean by wiping down with a soft cloth and mild soap-and-water solution. Dry with a clean towel.
Sometimes a hazy, film-like layer may appear on the product after production, packing, and shipping. Don't worry! This is normal and results from our anti-static process, which uses an additive derived from soybean oil. The additive is FDA, Kosher, and Halal certified.
Check for loose or worn parts periodically and tighten or replace as necessary.
Assembly Tips: Plastic Screw Installation Options
Before starting to assemble, take a moment to review these helpful tips and tricks to ensure easy and efficient set up of your new ECR4Kids® plastic products.
Begin by placing the screw and applying downward pressure. Rotate the screwdriver until the screw is embedded slightly into the plastic. Keep turning until the screw head is flush with the surface of the plastic.
Place the screw and gently tap it with a hammer until it’s partially secure. Then, use a screwdriver to finish tightening, turning it until the screw head is flush with the plastic.
Start by aligning the screw and guiding it with your fingers. Slowly engage the drill to get the screw started. Hold the plastic steady and continue drilling until the screw is flush with the surface. Be cautious with this method. Avoid over-tightening by stopping as soon as the screw head is flush with the plastic.